 |
| 150 minutes of night sky taken on Salt Spring Island in Canada |
Before you gas up the car and head out in to the night check the list below to make sure you have all the required gear.
- A camera capable of shooting in “Bulb” mode
- A sturdy tripod
- A cable release *it can be done with a remote but options will be very limited
Some things that you will find useful but are not necessary to get started would be a decent flashlight, some extra warm clothing and anything else to prepare you for the weather and elements. If you are heading into a remote location it may be much colder than what you are used to at night where you live so be prepared.
Where should I go?
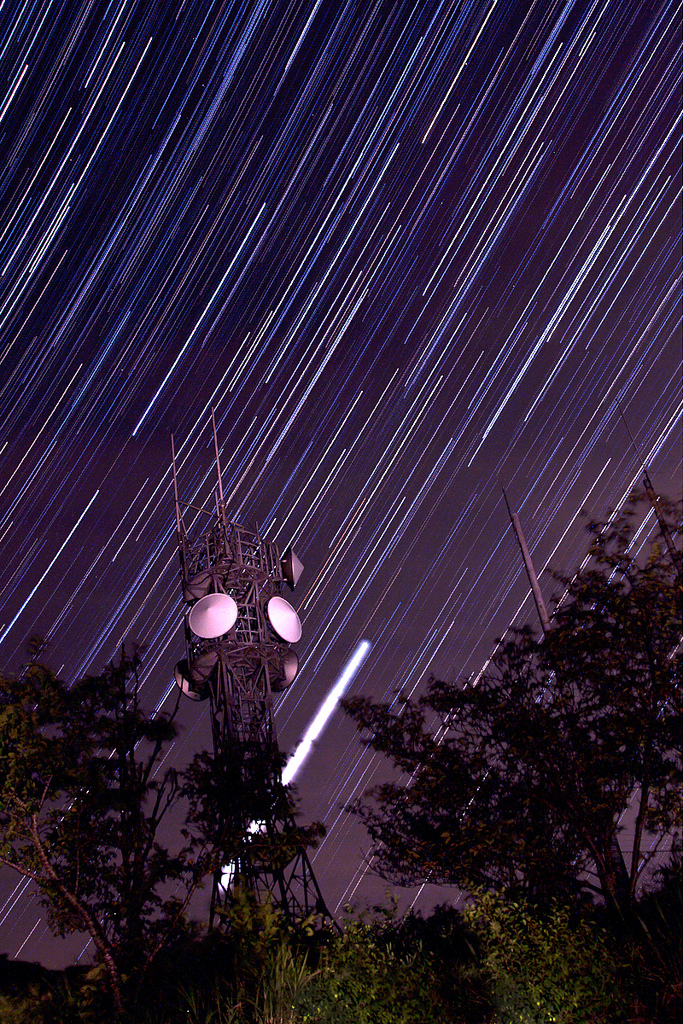
I tend to look for locations that are have some foreground interest. It may be an abandoned building, large infrastructure like a radio tower or a bridge, or some natural features like rock formations or big trees. You may choose to add light to these features with a flashlight or keep them as silhouettes against the star filled sky. Though it is possible to capture star trails in town it is much easier if you try this far away from any city lights. A darker sky means you can crank up your ISO and open up your lens really wide and capture a greater number of visible stars. City lights that are not even visible to the naked eye will show up over a long exposure so when you think you have finally found some dark skies keep on driving! It really pays off doing some research before embarking on a shoot especially if you have never seen the location in the day before.
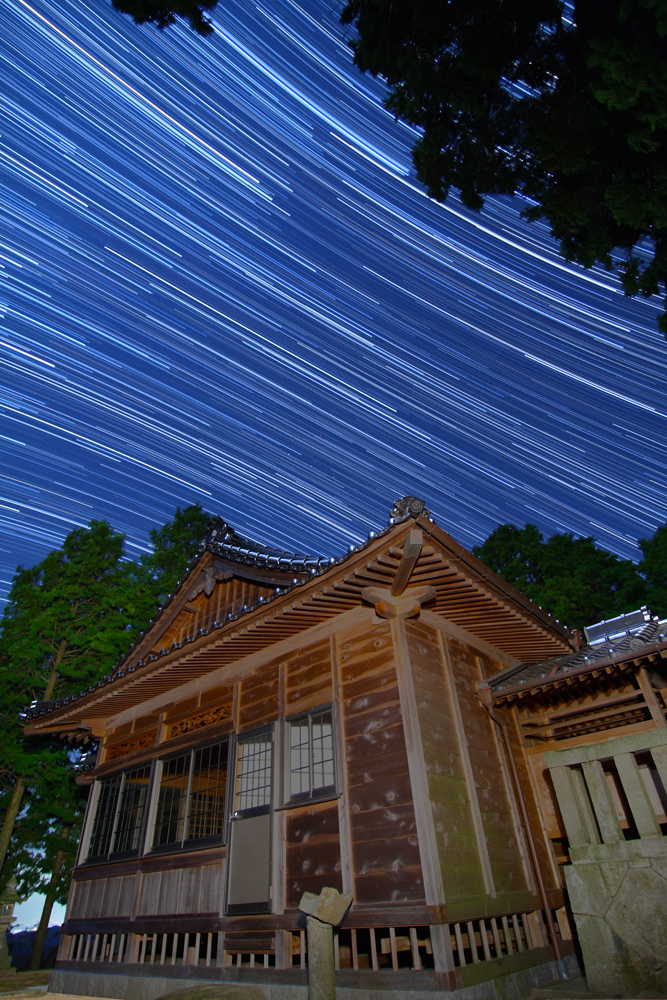 |
| A temple for foreground interest. |
What are the basics?
There are multiple ways to go about shooting star trails. I will start with the basics that do not change whether you are using an analogue SLR or a DSLR. Before dialing in any settigns you should go ahead and mount your camera onto a tripod. Roughly compose your shot and set the focus. In the dark, it is not easy to get the AF to lock on to anything but do not worry there are several solutions to this. If you are including foreground objects I suggest making sure that they are in focus. If you are using a wide angle lens the foreground object and the stars will probably both be in focus even at a very wide aperture. I find that it is fairly safe to just set the focus to infinity if it is a wide angle or fisheye lens right from the start. Some lenses will not have those
Hey, what about white balance?
White balance could be a whole separate tutorial on its own so I will keep this really brief. If you would like to know more about white balance then check out this article. White balance is the relative warmth or coolness of white light. A white object would appear slightly blue with a cold color temperature and it would look slightly orange with a warm color temperature. I tend to shoot night skies with the white balance set to “tungsten” which gives a nice blue look or the extreme opposite of 10000 Kelvin giving it a deep orange color. I find that auto white balance leaves the sky brownish or "dirty" looking. You will have to refer to your cameras manual if you do not know how to change these settings.
 |
| White balance set to 10000 Kelvin |
These setting will affect the whole image so if you have include some foreground objects then you will need to consider what you are using to light them with. I use a variety of flashlights for this job and my white balance settings help me to determine which one to use. LED light is very blue so if you are shooting with your white balance set to tungsten the objects lit with that light may look unnaturally blue. To avoid this I use a xenon flashlight or flashlight with an incandescent bulb which have a much higher color temperature and neutralize the blue effect of the white balance leaving objects lit with them a natural or true color. If LED is your only choice then consider putting some orange cellophane over the front to alter the shade of the light but doing this will reduce it effective power. If I am shooting with my white balance set to 10000K I would generally use an LED which is the exact opposite of the above situation. Its bluish hue would neutralize the high color temperature of 10000K leaving the objects lit with it a natural or true color. So for a cool white balance use a warm light and for a warm white balance use a cool light for lighting your foreground interest.
Hurry up and get to the good stuff...
 |
| Single exposure, xenon flashlight used on foreground |
 |
| same image as single exp. above but this one is stacked |
What do you mean by "lighting a foreground interest"?
 |
| foreground lit with xenon flashlight |
I mentioned above about adding light to the foreground objects and explained a few things to consider about white balance in relation to that. I often include foreground objects to complete the shots because images of just stars sometimes seem to lack a subject. I look for interesting buildings, infrastructure or natural objects like big trees or rock formations and make them the subject of the images. I light these foreground subjects with a flashlight or speedlite. A flashlight can reach far places and can be moved around while lighting to remove shadows while a speedlite can freeze a tree that may be moving in the wind. You will probably use a flashlight most of the time because they are a much more flexible tool and leave the foreground with a much more organic look. I highly recommend doing a few lighting test shots to see how much light is needed before locking that cable release. Too much light will distract from that beautiful star filled sky you are about to create. Remember that for foreground lighting use a warm color if you are using a “tungsten” white balance use an cold color light, like LED, if you are shooting at a high color temperature. If you are stacking then I suggest doing the foreground lighting at the beginning and again at the end incase one of those is unsuitable for the final shot. You simply exclude those frames from the stack. If it was done in the middle and a mistake was made leaving those frames unusable it would create a break in the trail that would take away from the shot. A final note for those with experience in night photography, keep in mind that you are now shooting wide open with your ISO jacked so adjust your lighting techniques to accommodate for that with low power flashes or less lighting time with a flashlight.
Hey, you forgot to tell me how to stack these pictures!
So now you have a memory card filled with image sequences and you are going to use software to stack them up to create your final star trail picture. There are several free options for this and each has easy instructions on their respective homepages that guide you on how to use each one.
StarStaX
StarStaX
- This is my favorite software. Unlike other free programs, it runs on Mac and Linux as well as Windows. What I like about StarStaX is the incredible speed. It is waaaay faster than using Photoshop and much easier as it does not require you to create any blank documents to get started. Open up the program and import your images. Hit start and within seconds your image is finished. Check out the homepage to see the great features it has.
- This method gets the job done but is slow and ties up memory while stacking.
Startrail.exe
Don't miss the next tutorial by following me on Twitter
- One major downfall of this software is that is only available for Windows. I used this a long time ago before I started using Mac. This got the job done and before StarStaX was a way of creating animated time lapse video of the stacks. I think this software has now become old and needs to be revamped if its author wants people to continue to use it.
Don't miss the next tutorial by following me on Twitter
1 comments:
Trevor, I've made some nice star trails before, but recently I've seen video's and/or time lapse movies of star trails. I mean to say, not just a run through of hundreds of photo's at 24fps but a progressive look at what has accumulated from the first frame through to the last. Again, to be clear, the star trail would start w/ the first frame and continue to the last, so that in the end you are looking at all the frames together. Another way I've thought of it is, imagine Star Trails, "Bleeding across the sky". As if you watch the trail grow! Further more, I've seen different versions of this where, in one version, it is a constant speed, but, in another version, the speed of the frames slow down, then speed up again, as if you start in one speed then move into slow motion and, again, resume the original speed. All the time, seeing all the frames (trails grow from the start) to any particular point in the video, all the way through to the end, no matter the speed change.
I asked a question to the photographer on one of the video's I saw about how to do this and he referred me to this tutorial. But, after reading this fine article, if I'm not mistaken, it is all about how to make "still" start trails. I wonder if you might be able to direct me in my quest of learning to make "Bleeding Star Trail Time Lapse and/or Video's"?
Post a Comment